Preparation
Required materials

Effort 45 min.

Difficulty Medium

Materials 19 Article(s)
How it works
INSTRUCTIONS

Draw a triangle on the construction paper and cut it out. Now you have the template for the little trees.

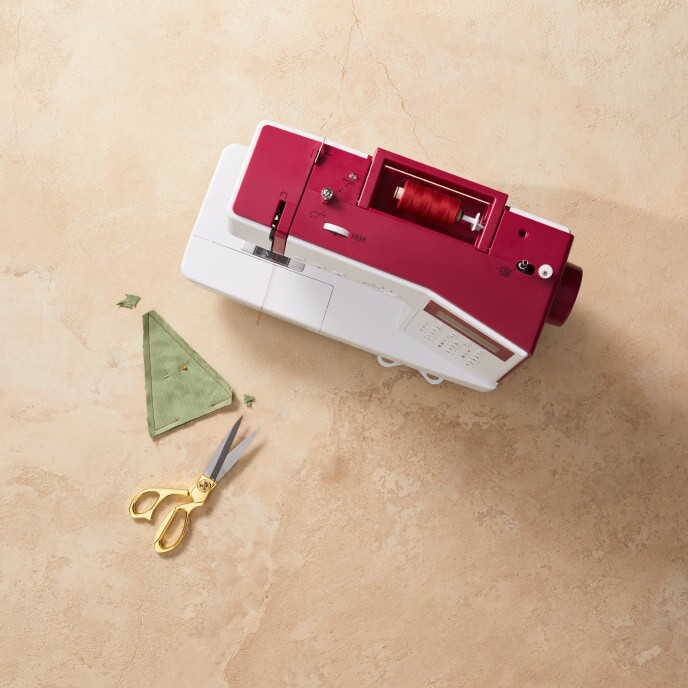
Lay the fabric double (right sides together) and secure it with the pins so that nothing slips when cutting. Then transfer the template to your fabric using the fabric chalk and cut out the triangles.

Now sew once all the way around with the sewing machine (or by hand) with a little seam allowance. Leave approx. 5 cm open at the bottom. Trim all three corners by approx. 1 cm so that the seam allowance does not interfere when turning.

Now you can turn the tree right side out and work out all the corners. Then it's time for the pendant. Use a wool needle and a piece of cord to go through the top of the tree from the inside. Knot the inner end and thread a labeled pendant and a pompom (or bell) on the outside.

The tree can now be filled to the brim with the cotton filler. Use the double-sided tape to stick the bottom end of the merci stick into the opening and sew the rest of the opening closed by hand. Now all that's missing is the number sticker and your first tree-shaped “door” is ready.
Get inspired!


